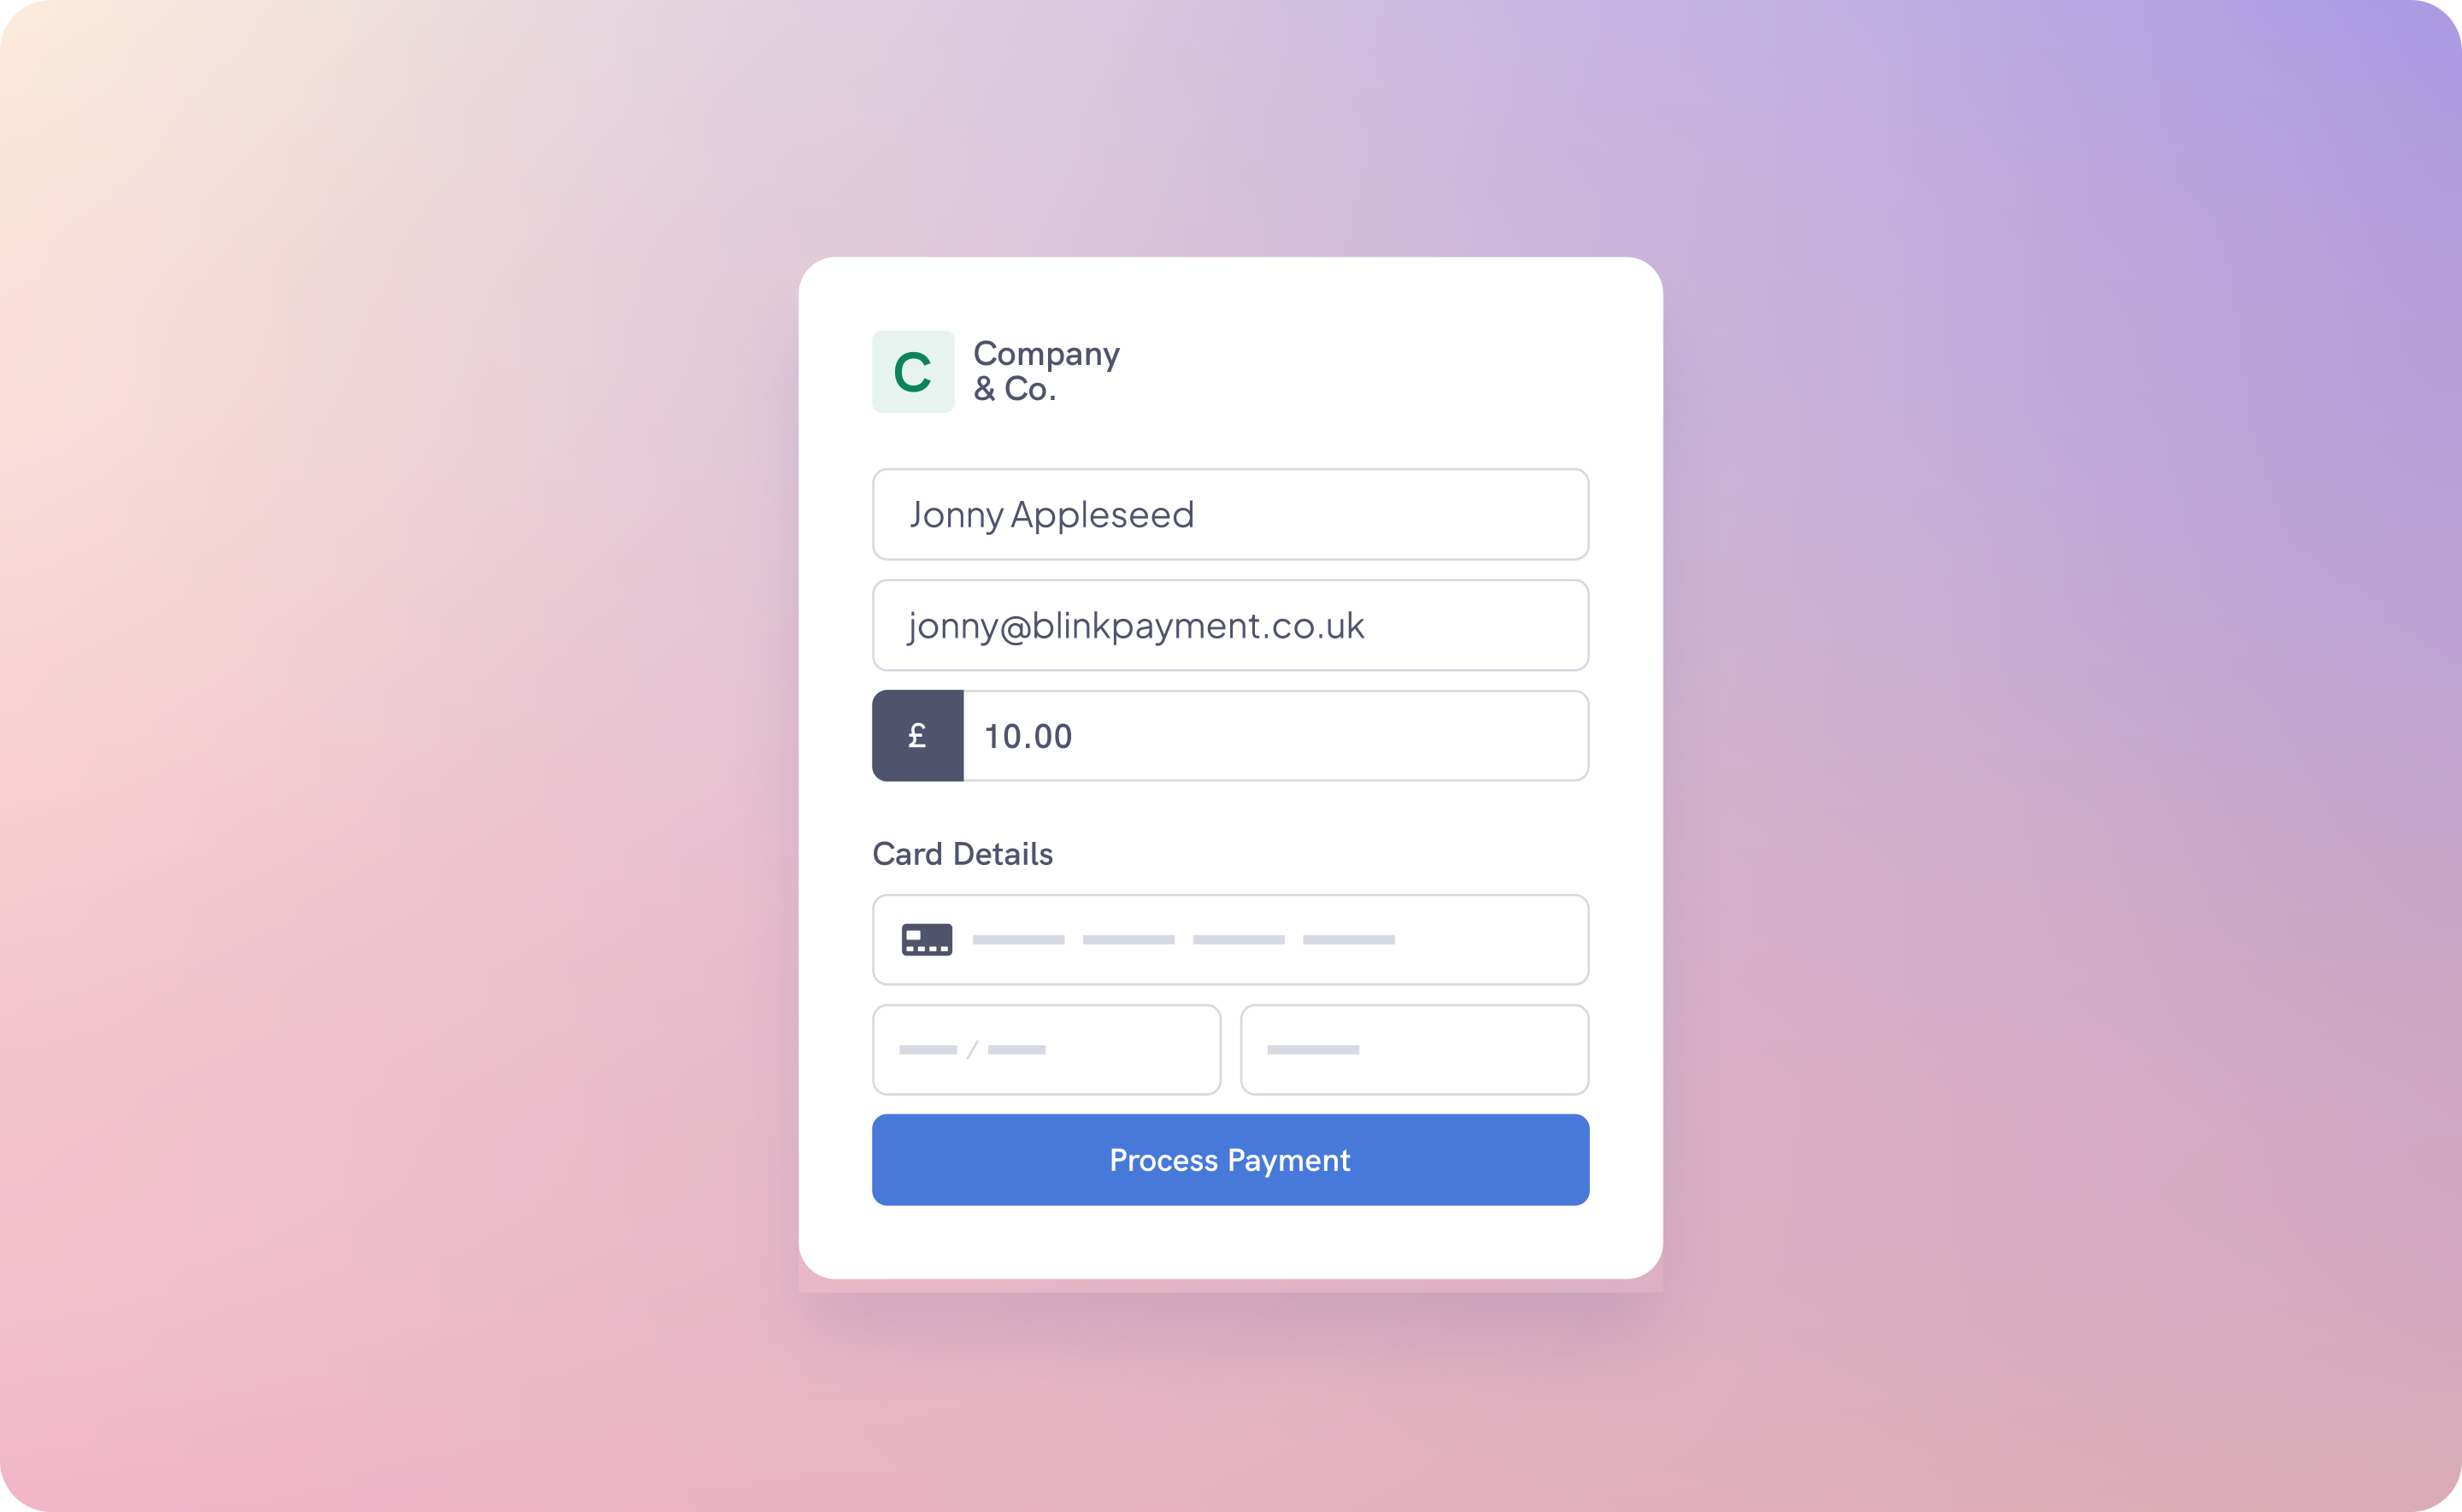
Payment page
How to securely process card payments in your frontend with HostedFields.js
Introduction
When processing card payments, to handle them securely you need utilise our HostedFields.js library to collect the card details securely within and iframe and tokenise the inputs. To do this you are required to implement three files in the header section of your payment page. When the submit button is clicked, the three script files automatically trigger a Blink API to tokenize the hosted card fields and generate a payment token. This generated payment token is automatically inserted into the payment form, then the whole form with the payment token is submitted.
If you want to process the request via ajax instead of a native form submission you can omit the custom JS. But you will need to fetch the remote IP address, set the users device details and invoke the HostedFields setup yourself. There is an example of this approach inside the Next.js Storefront Demo repo.
Card payments steps:
Generate payment intent on your server: On your server, create a payment intent process. Once done, you'll receive a card element as part of the payment intent response which you will embed inside of your payment page.
Include JS files in your header: In your frontend payment page, ensure the inclusion of Hostedfields.js, Custom.js, and JQuery. These scripts are fundamental to the subsequent tokenization process.
Tokenization: When a user submits the payment form, the aforementioned scripts collaborate to securely create a payment token. This token is then automatically added to the form, prepping it for final submission.
For open banking and direct debit payments, tokenisation and including the HostedFields.js in your the payment page is not necessary.
Code example with PHP
<head>
  <script src="https://code.jquery.com/jquery-3.6.3.min.js"></script>
  <script src="https://gateway2.blinkpayment.co.uk/sdk/web/v1/js/hostedfields.min.js"></script>
  <script src="https://secure.blinkpayment.co.uk/assets/js/api/custom.js"></script>
</head>

<body>
    <form method="POST" action="process" id="payment">
        <!-- @csrf is used in PHP to prevent cross-site forgery attacks -->
        @csrf
        {!! $element !!}
        <input type="hidden" id="merchant_data" name="merchant_data" value="{\"order_id\": \"12345\"}" />
        <button type="submit">Submit</button>
    </form>
</body>
Payment page elements
JQuery
The hosted fields requires JQuery. The gateway supports versions 1.8 to 3.6. In this example version 3.6.3 is used:
<script src="https://code.jquery.com/jquery-3.6.3.min.js"></script>
Hostedfields.js
To initialise hosted fields instance, include this JavaScript in your payment page. This script file should always be loaded directly from the Blink Gateway.
<script src="https://gateway2.blinkpayment.co.uk/sdk/web/v1/js/hostedfields.min.js"></script>
Custom JS
The custom.js script is required to automatically setup the hosted form, by automatically appending the paymentToken value to the payment form on form submission.
Note: an id value is required in the form element on your payment page by the custom.js and hostedfields.js.
<script src="https://secure.blinkpayment.co.uk/assets/js/api/custom.js"></script>
Form element
This is a simple form element. The action attribute points to the location of the code on your server that will execute when then form is submitted.
The id value is required in the form.
<form method="POST" action="process" id="payment">
  ...
</form>
CSRF token
Cross-site request forgery (also known as CSRF) is a web security vulnerability that allows an attacker to induce users to perform actions that they do not intend to perform. It allows an attacker to partly circumvent the same origin policy, which is designed to prevent different websites from interfering with each other.
This can be implemented in PHP by using the @csrf directive. This directive generates a hidden input field containing the CSRF token. You can implement this in javascript frameworks by using the csrf token in the header of the request here is an example guide for a NextJS implementation of CSRF.
Merchant data element
This is an optional element, which is hidden. It can be used to send important order or customer details that should be linked to the transaction. The value should be json string with double quotes delimited by backslashes.
<input type="hidden" id="merchant_data" name="merchant_data" value="{\"order_id\": \"12345\"}" />